
로봇하는 코딩
labelimg를 사용하여 라벨링하기 본문
glass를 detect하는 task를 수행하기 위해 직접 데이터세트를 만들어 보기로 하였다.
고려사항에 있던 tool은 1. roboflow, 2. labelme, 3. labelimg가 있었다.
이중 yolo data format을 지원하는 것이 1, 3번이었는데 너무 많은 기능이 필요없고 내가 빠르게 작업할 수 있는 tool이 labelimg라고 생각되어 labelimg를 사용하게 되었다.
위에 고려사항 중에 'yolo data format 지원여부'가 있던 것은 yolov5모델을 사용할 예정이기 때문이다.
labelimg를 install하는 방법은 github에 OS별로 자세히 나와있으니 참고해서 install하면 된다.
https://github.com/HumanSignal/label-studio#install-locally-with-pip
GitHub - HumanSignal/label-studio: Label Studio is a multi-type data labeling and annotation tool with standardized output forma
Label Studio is a multi-type data labeling and annotation tool with standardized output format - HumanSignal/label-studio
github.com
필자는 macOS환경에서 설치하여 사용하였다.
아래 사진이 labelimg의 실행시 화면이다.
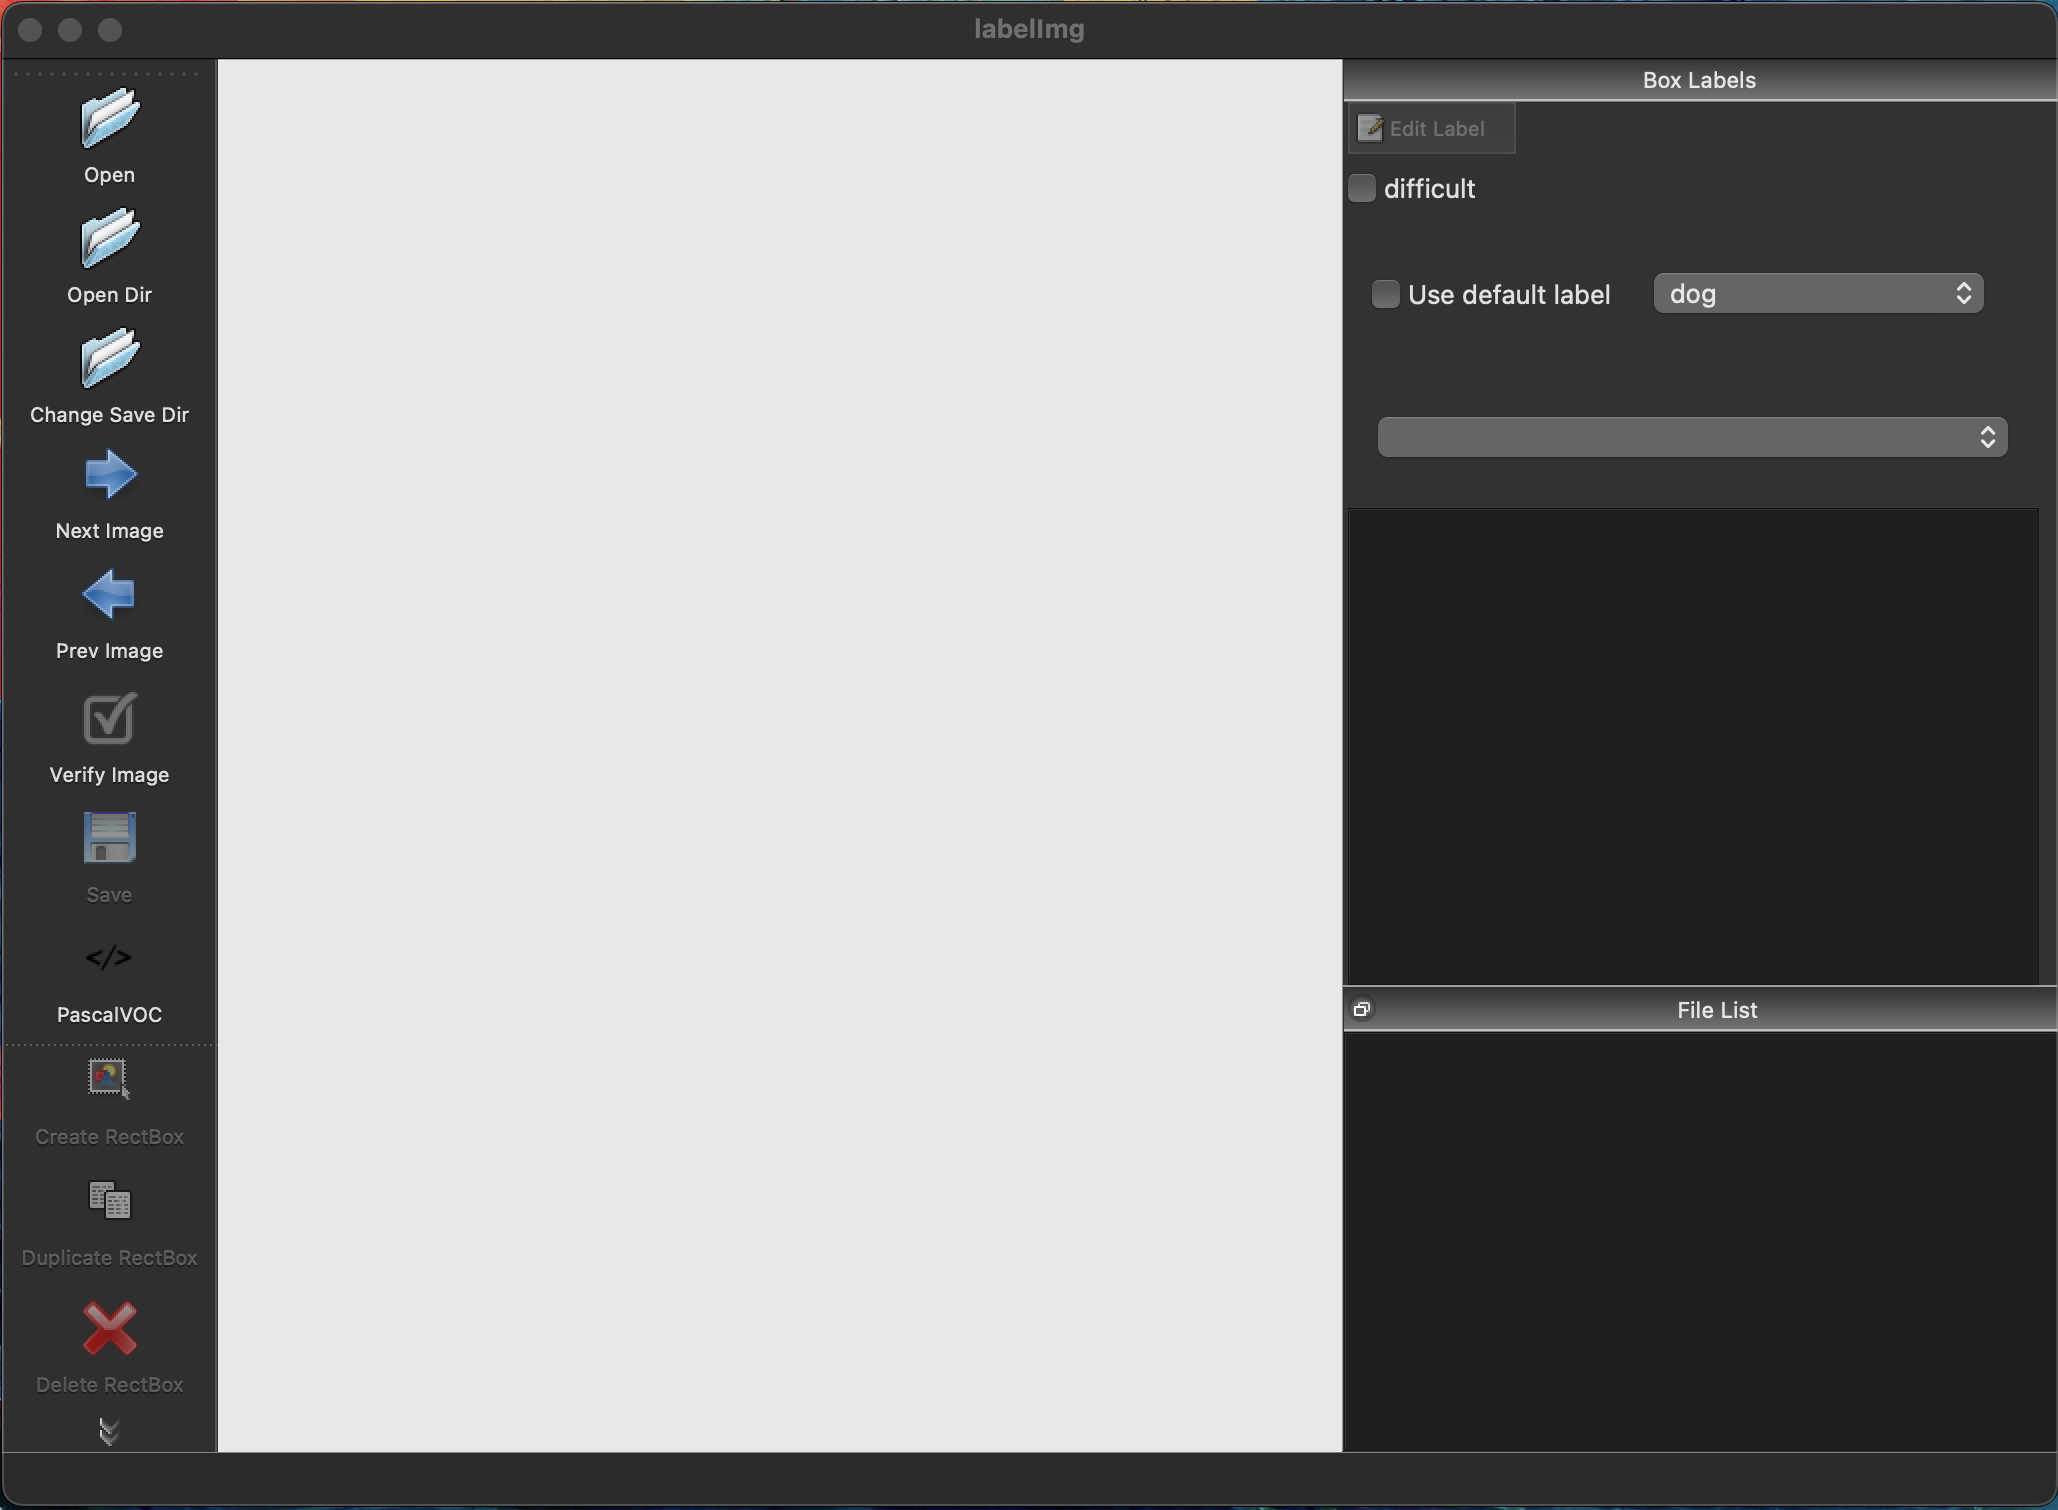
사용방법은 간단하다. open Dir을 통해 data가 있는 폴더를 열어주고 create RectBox 버튼을 눌러 labeling을 해주면 된다.
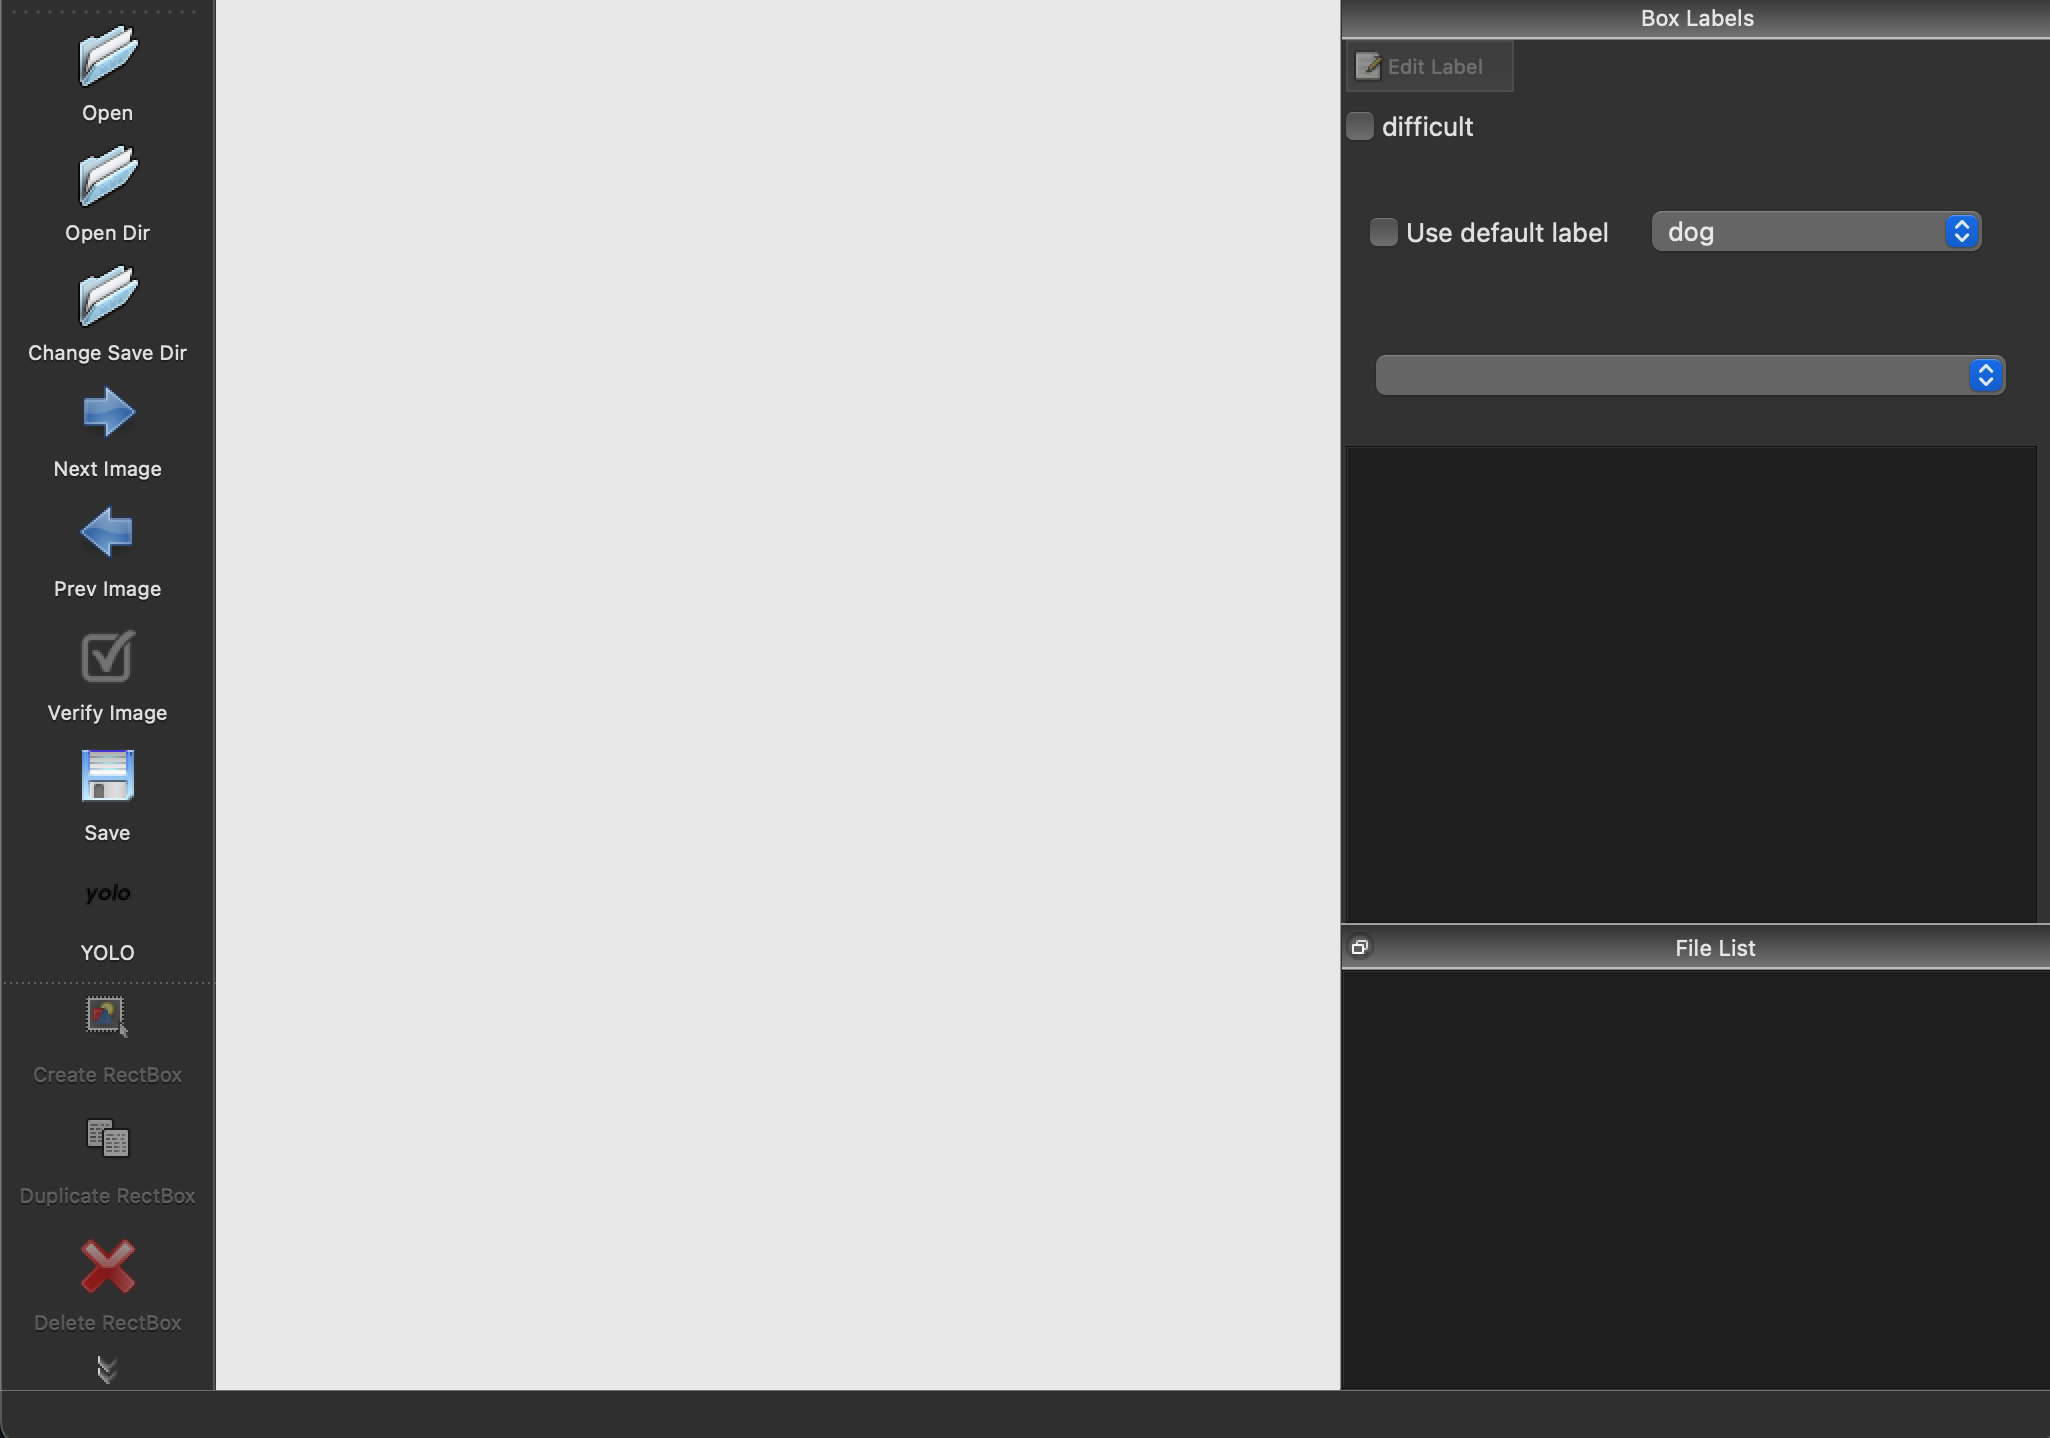
이때! yolo형식으로 labeling하고 싶다면 Pascal/VOC를 한 번 클릭해주면 바뀐다.
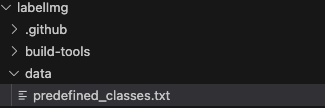
작업 전! 본인이 labeling할 데이터가 기본 label category에 있지 않고 수정을 하고 싶다면 git clone해서 labelImg폴더 밑에 data란 폴더가 있을 것이다 그 밑에 predefined_classes.txt란 파일이 있는데 이를 수정하면 된다.

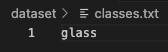
작업을 하고 나면 classes.txt와 *.txt 파일이 생성이 된다.
1. classes.txt는 아래와 같이 class의 종류가 적혀있다.
2. *.txt는 labeling한 사진에 대한 정보이다. cls_num, bbox_coordinate로 되어있다.

# 단축키
| Ctrl + u | Load all of the images from a directory |
| Ctrl + r | Change the default annotation target dir |
| Ctrl + s | Save |
| Ctrl + d | Copy the current label and rect box |
| Ctrl + Shift + d | Delete the current image |
| Space | Flag the current image as verified |
| w | Create a rect box |
| d | Next image |
| a | Previous image |
| del | Delete the selected rect box |
| Ctrl++ | Zoom in |
| Ctrl-- | Zoom out |
| ↑→↓← | Keyboard arrows to move selected rect box |